
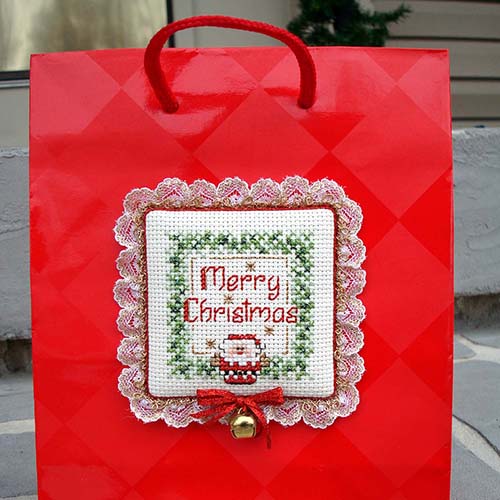

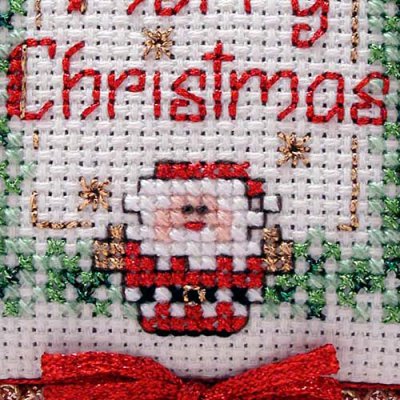

Merry Christmas Gift Bag
Note: This item is not shipped; the pattern is a PDF you download onto your computer or device
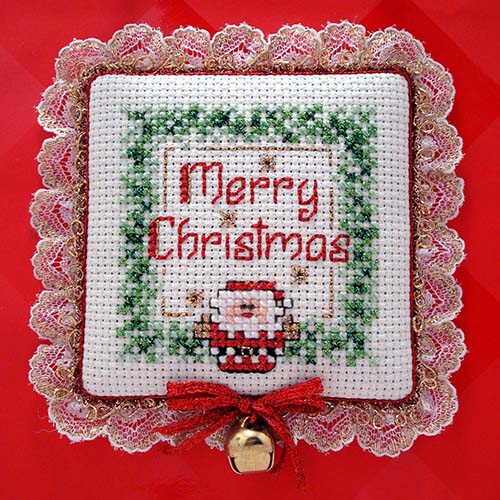
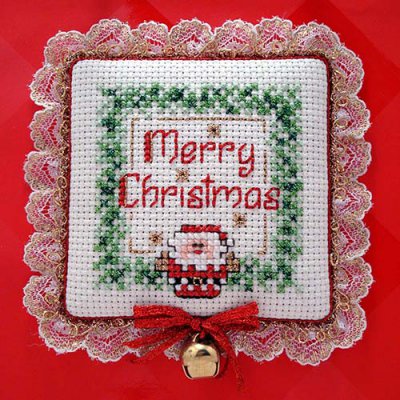
We made this cute cross-stitch design into a gift bag, but it makes a cute ornament too.
Printing Instructions:
Click here to download the FREE instructions for this design. You will need the Adobe Reader to view and print this file.
Materials needed:
- Fabric: 14-ct Ada in Antique White (Charles Craft brand), 8” x 8” piece
- embroidery floss as listed in color key
- Kreinik Fine #8 Braid as listed in color key
- #24 Tapestry needle
- scissors
- 6” embroidery hoop, Q-snap™ frame or stretcher bars
Instructions:
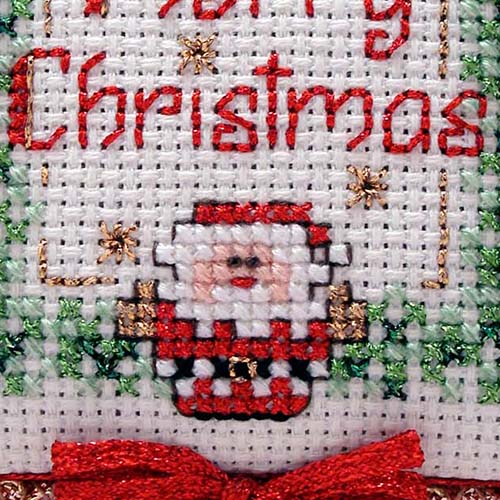
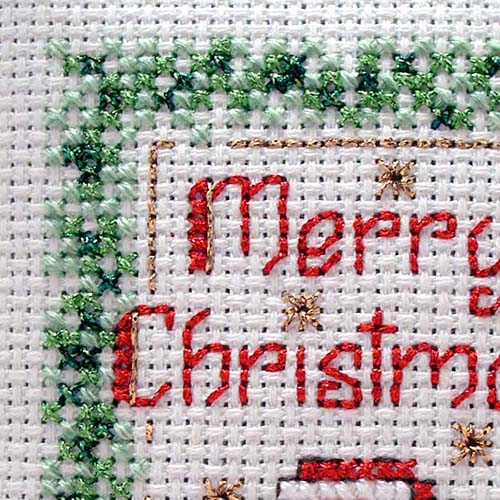
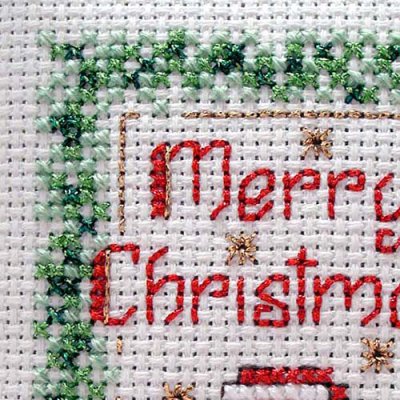
Each square on the chart equals one fabric thread. Using fibers and strand amounts indicated on Color Key, center and stitch one motif onto your fabric.
Specialty stitches:
- Algerian Eyelet with 1 strand of Fine #8 Braid 202HL
- Backstitch lettering and nose with Fine #8 Braid 003
- Backstitch border and belt buckle with Fine #8 Braid 202HL
- Backstitch Santa with 1 strand of black embroidery floss
- Straight stitch accents of capital M and C with 1 strand Fine #8 Braid 202HL
- French Knot eyes with 1 strand, wrapped twice of black embroidery floss
Finishing Instructions:
Materials needed:
your stitched design, one purchased gift bag in coordinating color, 3” square of medium weight cardboard, with corners slightly rounded, 14” piece of lace or decorative trim, gold jingle bell, small piece of batting, Kreinik Treasure Tape™ double-sided tape, white carpet thread, thick white glue, wooden skewer or toothpick, straight pins, 3/4-yard length of Kreinik 1/8” Ribbon 003 Red.
Instructions:
- Position pieces of double-sided tape onto cardboard and press batting onto tape. Trim batting edges even with cardboard. Set aside.
- Use carpet thread to hand baste a line around design area, six fabric threads beyond edge of leafy border. Trim design fabric to eight fabric threads beyond basting line. Clip corners diagonally outside of basting.
- Place design fabric face down, and center batting side of cardboard piece over back of design fabric. It will center about two fabric threads within basting line. Apply glue to cardboard near edges and press fabric edges to glue; holding in place with straight pins until set. Basting line will rest along top of cardboard edges. After glue is set, remove pins and basting. Finish corners and hold with pins until dry.
- Glue purchased trim around back of motif at edges.
- Glue 003 Red metallic ribbon around side edges of motif by applying glue to fabric using a skewer or toothpick, and holding ribbon in place with straight pins as you work. Begin at center of lower edge of motif and work around, completing at lower edge; overlapping ribbon ends slightly. Cut remaining length of ribbon in half and place halves together; draw through top of jingle bell. Having bell at center of ribbon lengths, tie a bow of double strands, adjust loops and trim tails. Glue bow assembly to overlap, holding in place with a pin until set.
- Glue motif onto front of gift bag.


