


Little Stars Free Needlepoint Frame Pattern
NOTE: this is not a product that is shipped. Click the link below to download the PDF.
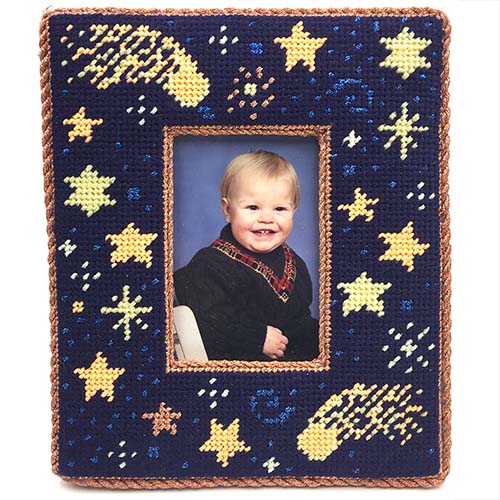
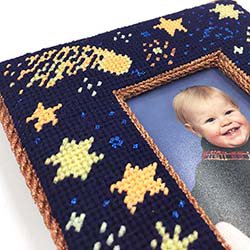
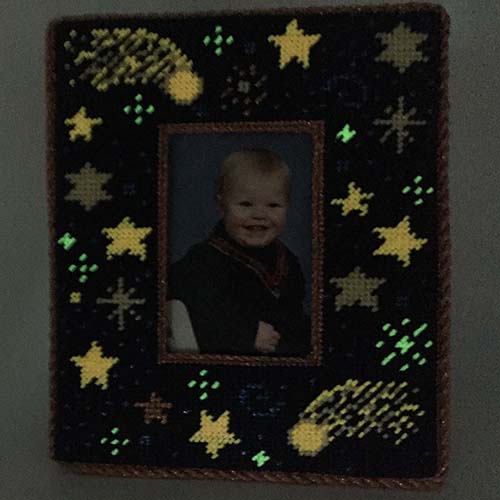
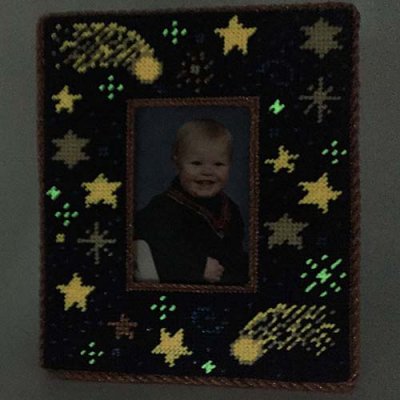
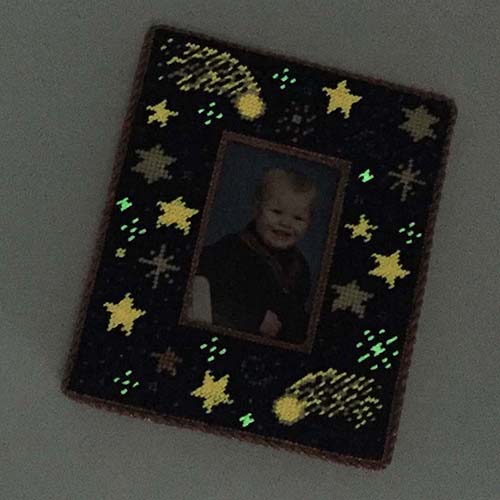
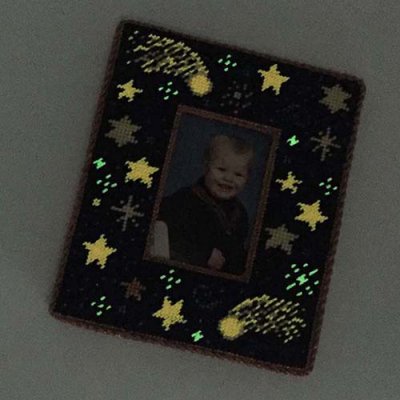
Little Stars Frame
Designed by Catherine Reurs
Design Size: 69w x 84h
Materials needed:
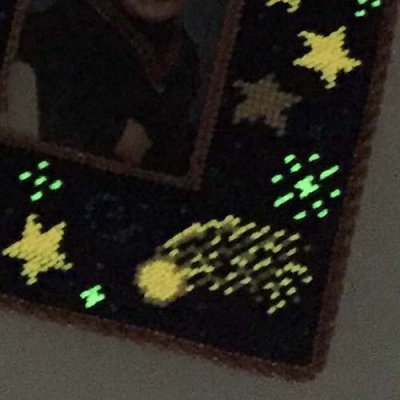
- Kreinik Medium (#16) Braid™ in these colors: 027, 051HL, 9100, 051F, 052F
- Anchor Cotton Embroidery Floss color 127 (several skeins)
- #22 Tapestry Needle
- White 14-ct Zweigart Interlock Canvas, approx 11" x 11"
- Stretcher bars with tacks
Stitching & Finishing Instructions:
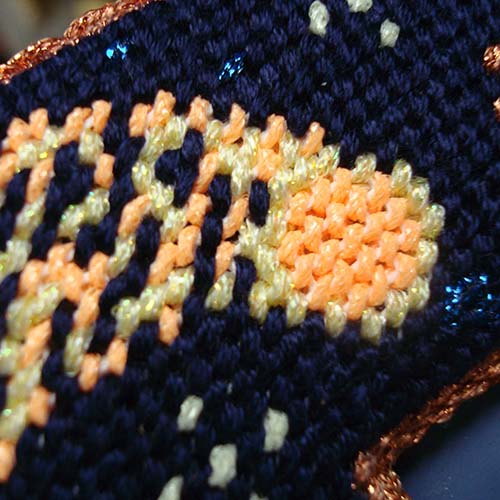
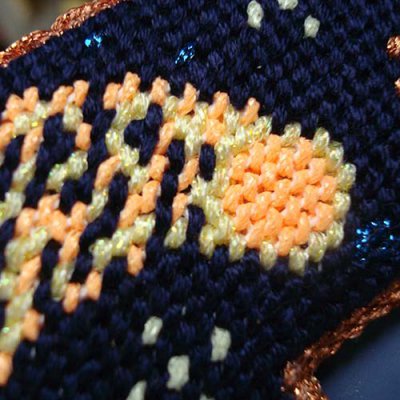
Cover the raw edges of your canvas with tape to protect the thread from catching on the rough edges, then mount the canvas on stretcher bars. Use tent stitch throughout this design. Use 6 strands of cotton floss to fill the background (use 7 strands for fuller coverage). Then stitch the remaining areas using 1 stand of Medium (#16) Braid according to the color key.
Finishing:
This project should be mounted and finished as a picture frame. You may wish to have this project professionally finished; check your local needlecraft shop for a resource. Note the orange cording that serves as a border; this was made with Kreinik metallic thread and the Kreinik Custom Corder.
Stitching Tips
1. Use short lengths of thread—about 18 inches—to avoid excessive abrasion on the thread from repeated passes through the fabric. Shorter lengths will also give you more control over the thread, which reduces tangling.
2. Try ‘stroking’ the thread before threading the needle—using heat and moisture from your own hand after rubbing your hands together, or using a slightly damp sponge—to relax the thread and thus reduce twisting and knotting.
3. Use an even amount of tension as you stitch to avoid distorting the canvas. Lay the strands of cotton floss neatly for ideal coverage.
4. Let the needle hang frequently as you stitch so the thread can untwist.The way we twist the needle as we stitch, combined with the twist of the thread—or threads—often leads to frustrating knots. It is good to get into the habit of letting your needle dangle after every one or two stitches to return the thread to its natural twist.
5. For a quick-and-easy, take-anywhere threading technique, cut a small strip of paper and fold in half. Place the fold through the eye of the needle and open the two ends to insert the thread in between. Gently pull the paper through so the thread is brought with it.
Instructions:
Click here to download the FREE instructions for this design. You will need the FREE program Adobe Reader to view and print this file.
Would this product be useful in your business (ie, manufacturing, teaching, retail)? If so, you could benefit from bulk quantities at wholesale pricing. To open a wholesale account, we require a copy of your business license on file. Send a copy along with your business name and contact info to:
- Rainbow Gallery (owner of Kreinik threads), 2860 North Ontario Street, Burbank CA 91504 USA
- Rainbow Gallery phone 747-283-2006
- Email info@kreinik.com