Easiest Christmas Ornaments
Note: This item is not shipped.
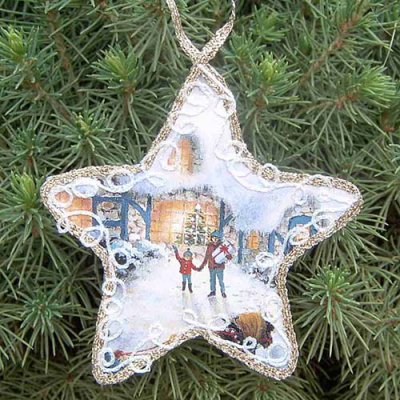
Need a Christmas party craft idea? These handmade ornaments fit neatly into an envelope for mailing, they recycle old Christmas cards, they're fast, easy, and inexpensive, and simple cookie cutters help to make the designing a no-brainer. You can also personalize them by writing a message or date on the back. This Christmas, everyone will be hooked on making the easiest Christmas ornaments ever.
Materials needed:
- cookie cutters in desired shapes (we used a tree and a star shape)
- old Christmas cards
- mini iron or household iron
- Kreinik 1/8" Iron-on Ribbon in your choice of colors (we like 6130 Red, 6225 Gold, 6300 Meadow, 6010 Pearl, or 6020 Silver)
- Kreinik #16 Iron-on Braid in your choice of colors
- Kreinik teflon press cloth
- ironing surface
- pen or pencil for tracing
- scissors
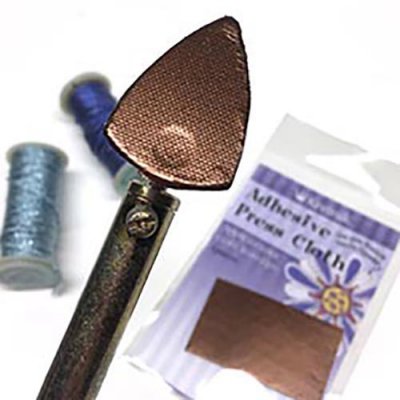
Note: if your iron is not Teflon-coated, you will want to use a press cloth between the thread and the iron, or apply a Kreinik Adhesive Press Cloth to your iron (several sizes are available). Apply the Adhesive Press Cloth while your iron is cool and unplugged.
Instructions:
1. Turn your iron on to the highest heat setting and let it heat thoroughly.
2. Meanwhile, trace the outline of the cookie cutter shape onto your Christmas cards, then cut out.
3. To begin decorating, lay your iron-on ribbon at the edge of your card design. Cover the thread with the Teflon Press Cloth, then press for several seconds until the thread adheres. Continue this way, laying the thread around the border. You may want to start and end at the top of your design so that you can leave extra thread for the loop.
4. If desired, decorate other parts of the card with the thinner iron-on braids. Always use the Teflon Press Cloth to keep the adhesive in the thread from sticking to your iron.


