


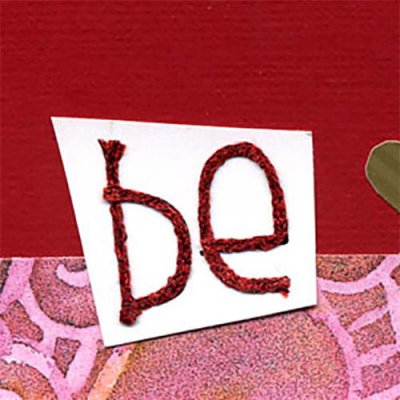
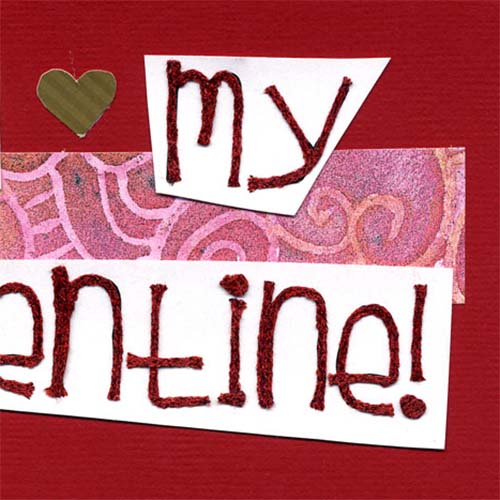


Be Mine Card
NOTE: This product is not shipped.
Be Mine valentine card
Designed by: Amy Law
Skill level: Beginner
Materials needed:
- white cardstock & Be My Valentine text (choose your favorite, we used Tuesday font)
- red card (red texture from Paper Reflections)
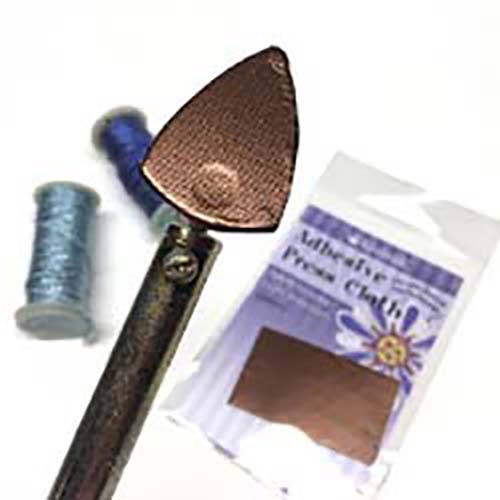
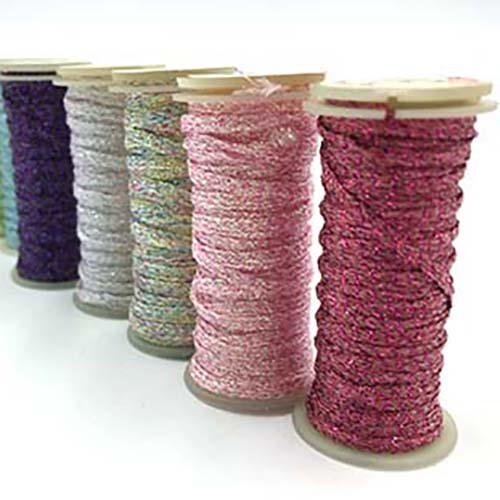
- Kreinik Iron-On #16 Braid 6130 Red
- Kreinik press cloth
- Iron or mini iron
- Emotion paper design by Michelle Anderson (Provo Craft)
- gold heart (scrap pack striped gold paper)
Basic Iron-on thread how-to:
If your iron doesn't have a non-stick Teflon coating, it's a good idea to get one of our Adhesive Press Cloths. It keeps the adhesive in the thread from sticking to your iron. They come in a variety of sizes. Apply to a cool iron.
Turn your iron onto the highest heat setting and let it heat thoroughly. Lay the thread at your starting point, cover with the Teflon press cloth, and press for several seconds until the thread adheres. Continue in this manner, working the design in sections.
Instructions:
1. Print your text on a sheet of white cardstock. A simple font is easiest to follow; we have used one called “Tuesday”.
2. Using your iron-on thread, embellish each letter by going over the text. (Be careful not to let your iron brush the ink as this can cause it to smear.)
3. When you are done embellishing your message, cut out the words. By making your cuts at an angle, instead of perfect rectangles, you create a fun, funky effect. Cut a small rectangle of the “Emotion” paper.
4. You are ready to assemble your card. Attach the “Emotion” paper to your card first. Arrange your words on top, and attach them as well. Finally, attach your heart. Your card is done!