50.0% positive feedback
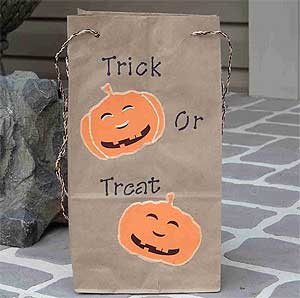


Trick or Treat Party Bag
NOTE: this item is not shipped.
Trick or Treat Party Bag
Designed by: Amy Law
Skill Level: beginner
Designed by: Amy Law
Skill Level: beginner
Materials needed:
• brown paper lunch sack
• orange cardstock
• large jack o’lantern rubber stamp and black stamp pad (or print a black and white drawing of a jack o’lantern onto your orange cardstock)
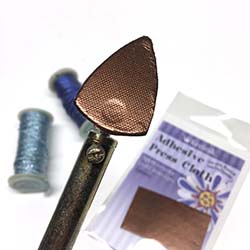
• Kreinik adhesive press cloth if using a mini iron, or regular press cloth if using a regular iron
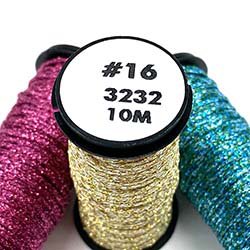
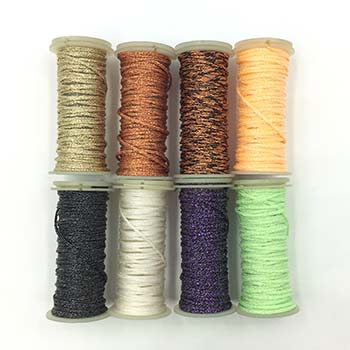
• Kreinik Iron-on #16 Braid 6700, 6710, 6720
• mini iron or household iron
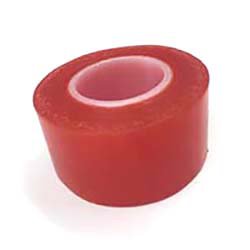
• 1-inch Treasure Tape
• black magic marker (thin)
• Kreinik Custom Corder with weight
• Kreinik #16 Braid 005, 052F, 051F
• hole punch
Instructions:
• brown paper lunch sack
• orange cardstock
• large jack o’lantern rubber stamp and black stamp pad (or print a black and white drawing of a jack o’lantern onto your orange cardstock)
• Kreinik adhesive press cloth if using a mini iron, or regular press cloth if using a regular iron
• Kreinik Iron-on #16 Braid 6700, 6710, 6720
• mini iron or household iron
• 1-inch Treasure Tape
• black magic marker (thin)
• Kreinik Custom Corder with weight
• Kreinik #16 Braid 005, 052F, 051F
• hole punch
Instructions:
(instructions are for a regular iron; if using a mini iron, we recommend applying the adhesive press cloth while the iron is cool and unplugged)
1. Turn your iron onto the highest heat setting and let it heat thoroughly.
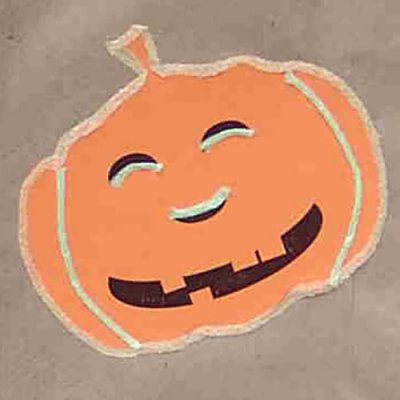
2. Stamp the jack o’lantern image onto your cardstock or print it from a computer. Cut out. You will need two.
3. Iron over the outline of the pumpkin using the orange iron-on braid: lay the thread at a starting point, cover with the press cloth, and press for several second or until the thread adheres. Continue this way, working the design in sections.
4. Use the 6720 iron-on braid to outline the eyes, nose, and mouth of the jack o’lantern.
5. Adhere the decorated pumpkin images to the front of your bag using TreasureTape.
6. Write the words “Trick or Treat” using the black magic marker.
7. Punch holes at the top of your bag to use for stringing the handles.
8. Following the directions that come with the Custom Corder, make twisted cording out of the #16 Braid colors. Make two. String these through the holes in your bag, knotting the ends, to become handles.
1. Turn your iron onto the highest heat setting and let it heat thoroughly.
2. Stamp the jack o’lantern image onto your cardstock or print it from a computer. Cut out. You will need two.
3. Iron over the outline of the pumpkin using the orange iron-on braid: lay the thread at a starting point, cover with the press cloth, and press for several second or until the thread adheres. Continue this way, working the design in sections.
4. Use the 6720 iron-on braid to outline the eyes, nose, and mouth of the jack o’lantern.
5. Adhere the decorated pumpkin images to the front of your bag using TreasureTape.
6. Write the words “Trick or Treat” using the black magic marker.
7. Punch holes at the top of your bag to use for stringing the handles.
8. Following the directions that come with the Custom Corder, make twisted cording out of the #16 Braid colors. Make two. String these through the holes in your bag, knotting the ends, to become handles.