

Lo Sew CORDED BELT COMBO
Note: this item is not shipped
Designed ByeXpresSew®
Two belt styles inspired by the Custom Corder™ by Kreinik. Combine colorful twisted cords with ribbons or webbing for subtle style that won’t quit.
Before you can get your supplies, figure out how you plan to wear your belt, either around your waist or upper hips. Find this measurement with a tape measure to see out how much ribbon or webbing you’ll need.
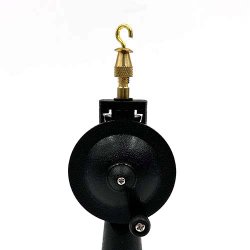
Now, read over the instructions that came with the Custom Corder™: See how to knot together a combination of threads and use the Custom Corder™ to twist the threads together into a “ply”. Each part of a twisted cord is called a ply. You’ll be making 2-ply cord.
Measure out each cord as long as you need. Knot threads together at each end. If you want a certain color to stand out, cut 2 lengths of that thread. Experiment.Sometimes the cords turn out differently than you expect, but they’re always fun to see.
Loop one knotted end around a drawer knob or somewhere similar and hook the other end around on the Custom Corder™. Stand back so the threads are pulled tightly. To twist the threads, turn the handle of the Custom Corder™ until they start to kink, or twist back on themselves. Hang the weight in the middle of the cord. Step in closer to loosen the twisted cord and the weight will cause the threads to double up and twist on themselves. This is the fun part. Once you’re happy with the cord, lift the far end off the knob and knot ends together.
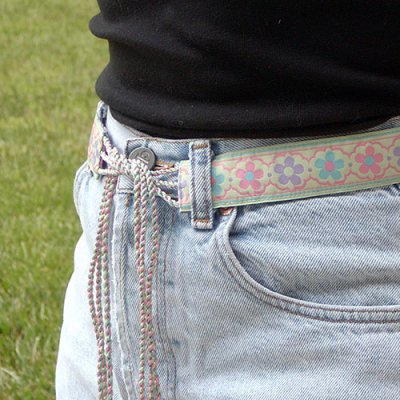
REVERSIBLE RIBBON BELT
Supplies to gather:
- Tape measure.
- Two pieces of ribbon that look good together each long enough to equal the body measurement you found earlier.
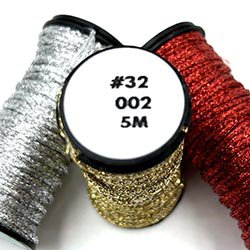
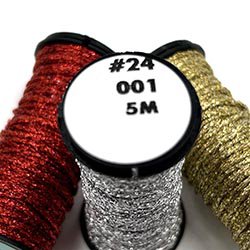
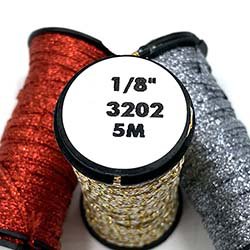
- Metallic thread by Kreinik, in a variety of colors to match both ribbons – two spools each in 2 or 3 different colors. (You’ll have trouble deciding which to choose, there are so many great colors.) Stick with the following thicknesses: #16 Medium Braid, #32 Heavy Braid, 1/16” Ribbon, 1/8” Ribbon or Facet.
- Custom Corder™ by Kreinik.
- Thread to match.
- Sewing machine.
- Iron.
Cut pieces of thread 50” long and use the Custom Corder™ to create the first cord. Make 5 more exactly alike until you have 6 altogether. Adjust the knots on one end so each cord is approximately 15” long. Trim the loose ends and let the tails fray. (Diag. 1)
Stitch three cords each to the end of one ribbon. Press the seam allowances back toward the ribbon. (Diag. 2). Press under the ends of the second ribbon so that ribbons are still the same length.
With wrong sides together, pin the ribbons together. Stitch completely around the outside edges of the ribbon and stitch twice at each end to secure the cords. (Diag. 3). Press the ribbon flat if necessary.
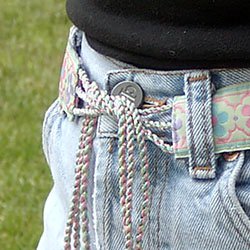
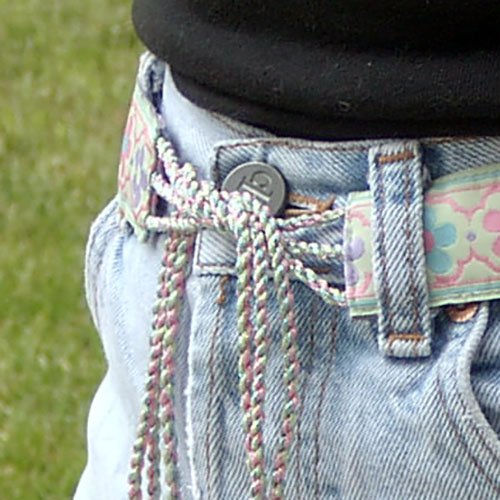
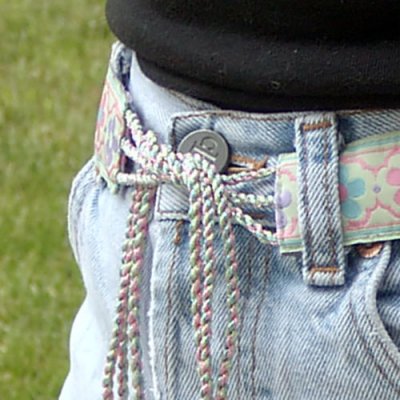
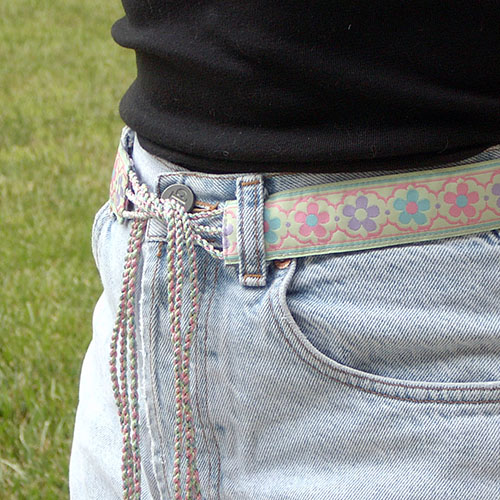
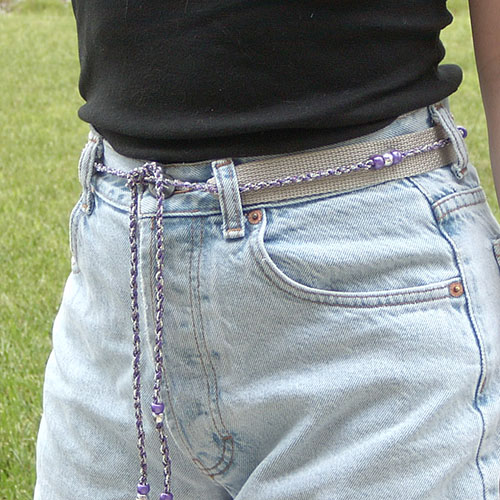
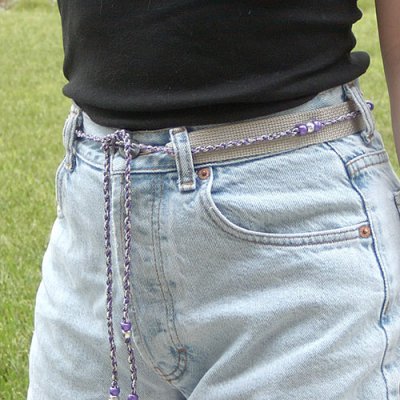
WEBBING BELT WITH CORDS AND BEADS
Supplies to gather:
- Tape measure.
- Nylon webbing - one piece long enough to equal the body measurement you found earlier.
- Metallic thread by Kreinik, in a variety of colors to match both ribbons – two spools each in 2 or 3 different colors. (You’ll have trouble deciding which to choose, there are so many great colors.) Stick with the following thicknesses: #16 Medium Braid, #32 Heavy Braid, 1/16” Ribbon, 1/8” Ribbon or Facet.
- Custom Corder™ by Kreinik.
- Thread to match webbing.
- Pony beads in colors that match.
- White glue for jewels or beads.
- Sewing machine.
- Iron.
Cut pieces of thread 3 times as long as the webbing measurement and use theCustom Corder™ to create your cord. Cut cord in the same colors 50” long and make two additional cords for the ties. Adjust the knots on one end so each cord is approximately 15” long. Trim the loose ends and let the tails fray. (Diag.1). click here to see diagrams
Thread the belt cord with pony beads in any one color or combination of colors you like. (Diag. 4). Add pony beads to make five sets of colors altogether. Add one set of beads to the tie cords.
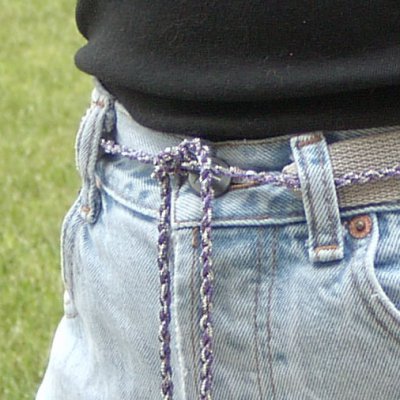
Pin the belt cord to the webbing. Make sure both are equal in length. Baste the cord and webbing ends together. Baste one tie end to each webbing end right on top of the belt cord. Fold the ends in half and stitch with the sewing machine.(Diag. 5).
Pull the tie cord out at each end so webbing is right side out. Glue each end neatly. Place belt out flat on a table and space the sets of beads evenly. Glue beads to the webbing with jewel glue or stitch securely. (Diag. 6).
Would this product be useful in your business (ie, manufacturing, teaching, retail)? If so, you could benefit from bulk quantities at wholesale pricing. To open a wholesale account, we require a copy of your business license on file. Send a copy along with your business name and contact info to:
- Kreinik Customer Service Department, 1708 Gihon Road, Parkersburg, WV 26101 USA
- or fax it to 304-428-4326