
50.0% positive feedback


Iron-On Stocking
NOTE: this item is not shipped.
Iron-On Stocking
Designed by: Nancy Billetdeaux
Skill Level: Intermediate
Skill Level: Intermediate
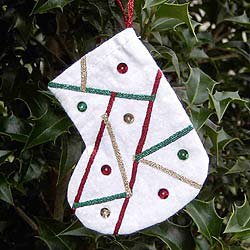
This is a fun way to make a quick fabric ornament that looks like it was crazy quilted. You can take it a step further and make it a ‘signature’ ornaments– having family or friends sign their names in the sections of the design.The iron-on threads give you a quick decorative thread embellishment.
Materials needed:
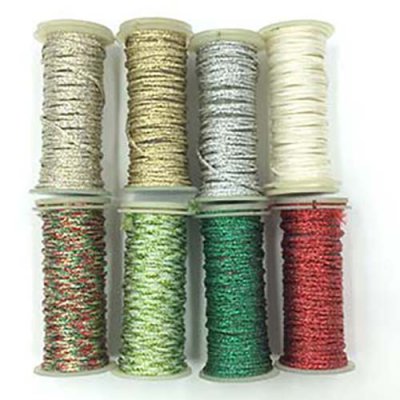
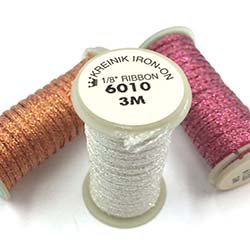
• Iron-on 1/8” Ribbon in 6130 Red, 6225 Gold, 6350 Green
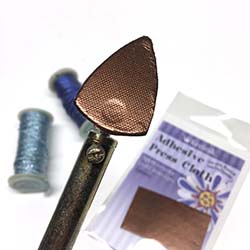
• 3” x 4” Kreinik Press Cloth if using a regular iron, or Kreinik adhesive press cloth if using a Clover Mini Iron
• Mini iron or household iron
• 4 1/2” X 4 1/2” white print fabric
• sequins (small) 6 red, 4 green, 4 gold
• sewing machine
• white all-purpose thread
• fabric glue
Instructions:
If using the adhesive press cloth on a mini iron, tear off the backing and apply to the mini iron while cool and unplugged.
Materials needed:
• Iron-on 1/8” Ribbon in 6130 Red, 6225 Gold, 6350 Green
• 3” x 4” Kreinik Press Cloth if using a regular iron, or Kreinik adhesive press cloth if using a Clover Mini Iron
• Mini iron or household iron
• 4 1/2” X 4 1/2” white print fabric
• sequins (small) 6 red, 4 green, 4 gold
• sewing machine
• white all-purpose thread
• fabric glue
Instructions:
If using the adhesive press cloth on a mini iron, tear off the backing and apply to the mini iron while cool and unplugged.
Turn your iron onto the highest heat setting and let it heat thoroughly.
1. Trace and cut out the stocking template. Place template onto doubled white print fabric and cut out.
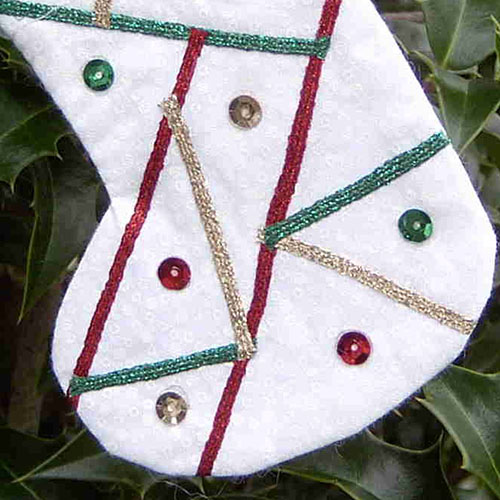
2. Referring to template for placement, iron the 1/8’ Ribbon; lay the thread at a starting point, cover with the Teflon press cloth, and press for several seconds until the thread adheres. Continue in this way, working the design n sections. Refer to the photo for color location.
3. Pin stocking right sides together and sew around stocking, leaving top open, using a 1/4” seam allowance. Turn under 3/8” to inside of stocking and stitch around top of stocking 1/4” from edge.
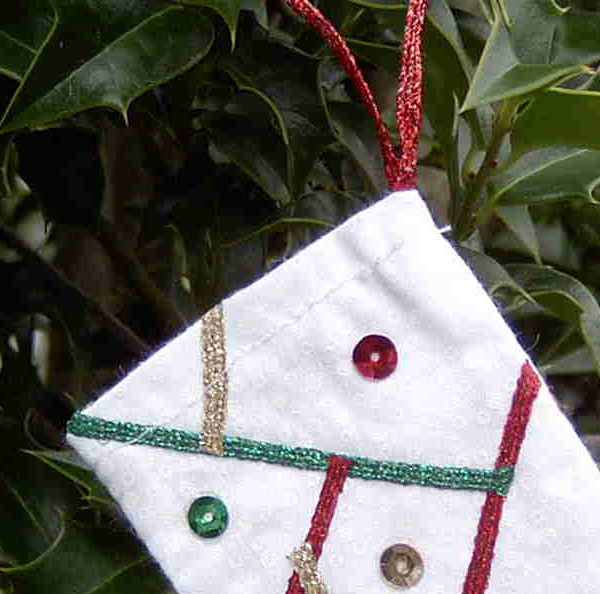
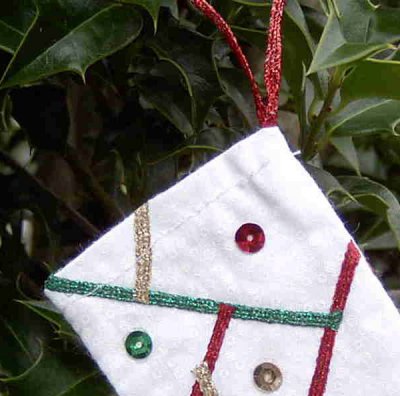
4. Cut a piece of 1/8” red Iron-on Ribbon 8 1/2” long, and fold in half.Iron the raw ends to inside of stocking (always use your Teflon press cloth).
5. Glue sequins to stocking using fabric glue; refer to photo for color and placement.
1. Trace and cut out the stocking template. Place template onto doubled white print fabric and cut out.
2. Referring to template for placement, iron the 1/8’ Ribbon; lay the thread at a starting point, cover with the Teflon press cloth, and press for several seconds until the thread adheres. Continue in this way, working the design n sections. Refer to the photo for color location.
3. Pin stocking right sides together and sew around stocking, leaving top open, using a 1/4” seam allowance. Turn under 3/8” to inside of stocking and stitch around top of stocking 1/4” from edge.
4. Cut a piece of 1/8” red Iron-on Ribbon 8 1/2” long, and fold in half.Iron the raw ends to inside of stocking (always use your Teflon press cloth).
5. Glue sequins to stocking using fabric glue; refer to photo for color and placement.