

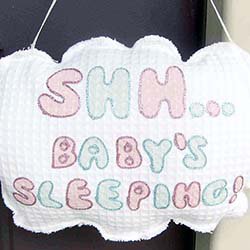
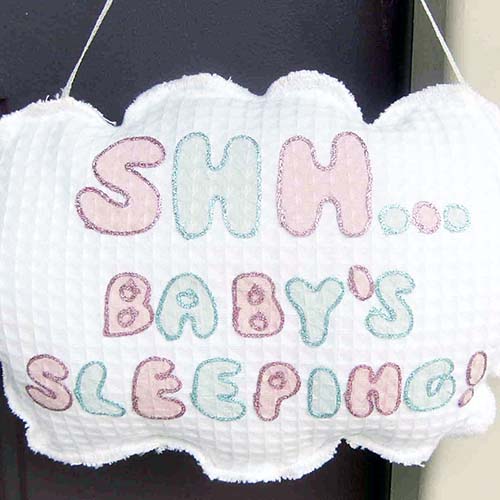


Baby's sleeping door hanger
Note: This item is not shipped.
Designed by: Nancy Billetdeaux, Skill Level: Beginner
Here's a quick baby gift you can make in an afternoon. The iron-on threads look embroidered, but take less time.
Materials needed:
- 1/8 yard of pink fabric
- 1/8 yard of blue fabric
- 1/4 yard of white fabric
- Polyfil® (two big handfuls)
- Kreinik Iron-on #16 Braid in 6400 Blue Bell and 6120 Pink
- Kreinik Iron-on 1/8" Ribbon in 6010 Pearl
- Teflon Press Cloth or Adhesive Press Cloth
- White all-purpose thread
- sewing machine
- HeatnBond® Iron-on adhesive, 2" x 17" piece
- scissors
- iron and ironing board
Note: if your iron is not Teflon-coated, you will want to use a press cloth between the thread and the iron, or apply a Kreinik Adhesive Press Cloth to your iron (several sizes are available). Apply the Adhesive Press Cloth while your iron is cool and unplugged.
Instructions:
1. Trace cloud pattern onto doubled white fabric and cut out.
2. Following manufacturers instructions, adhere HeatnBond to the wrong side of a 2" x 15" piece of blue fabric. Do not remove paper backing at this time. Trace the letters and the symbols that are to be blue face down on the paper. Cut the letters out.
3. Following manufacturers instructions, adhere HeatnBond to the wrong side of a 2" x 15" piece of pink fabric. Do not remove paper backing at this time. Trace the letters and the symbols that are to be pink face down on the paper. Cut the letters out.
4. Remove paper backing from letters and the symbols and place on the top right side of the cloud referring to photo for placement. Iron letters and symbols in place following manufacturers instructions.
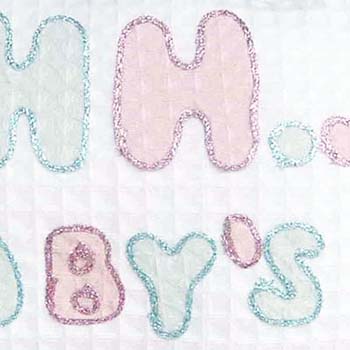
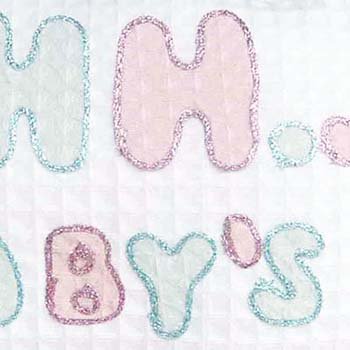
5. Using the Teflon Press Cloth, press the #16 Braid to each of the coordinating letters and symbols: lay the thread at a starting point, cover with the Teflon Press Cloth, and press for several seconds with a hot iron until the thread adheres. Continue this way, working your letters until complete.
6. Pin the front and back of the cloud together, right side facing out. Using a satin stitch, stitch around cloud leaving a small opening for stuffing. Stuff cloud. Satin stitch remainder of cloud closed.
7. Cut a 12" piece of pearl 1/8" Ribbon and stitch to the wrong side of pillow to serve as a pillow hanger.